Showing posts with label recipes. Show all posts

THE TASTE OF SUMMER


The weather has been amazingly good here for the past few weeks, it really has begun to feel like summer. And what better way to indulge in this glorious season than with food. With some extra strawberries floating around in my fridge I thought I would treat friends to Eton Mess, possibly the simplest dessert you can make as it really can't go wrong yet super tasty - as one friend said "this actually tastes like summer!"


All you need is chopped strawberries. Couldn't help but fall in love with the striped pattern inside of them, something I've never noticed before. 

Take some meringue and crush it into bit size pieces. Whip some double cream until it thickens then mix in the crushed meringue.


I decided to serve my Eton Mess in individual portions, I had to cycle to meet my friends and wanted something that would travel easily and still look pretty when I got there! Here I've used old jam jars and spooned the meringue/cream mixture into the bottom, added a layer of strawberries and a dollop of white chocolate.


Finished with a little Clementine & Bloom ribbon and hey presto a lovely summery treat for all to enjoy!


100 AND COUNTING

Cast your minds back to January 2012, like everyone else we had made New Years resolutions :

1 : start a blog
2 : start a business

And now we're back in January, today marks our 100th post! I think we can safely say we've achieved the first resolution. It's wonderful to be able to look back over the year and see what we've shared with everyone - the food we've eaten, the places we've been and perhaps most importantly our journey to achieve resolution #2.

We've created a snapshot of pictures from some of our favourite posts and memories. To all our loyal readers thank you for sticking by us and to those of you who are new here a big hello!


As is traditional for January Clementine & Bloom have once again set 2013 resolutions - this is our year to think big and say yes! So what better way to celebrate than to share with you all our first piece of press, our beautiful Heart Quilt is featured in the February edition of Sewing World Magazine, it went on sale 18th January so now all we need to do is get our hands on a copy...


Of course no celebration would be complete without cake! We chose these delicious chocolate fudge cupcakes baked by the very talented Liberty Kalinah. Really we wanted one of her fantastic novelty cakes but when there's just two of you in the studio it seemed just a bit greedy. Maybe for our 1000th post we should have a party!


ICE, ICE BABY

Happy New Year to all our readers and what better way to start 2013 than with ice cream! I've waited until now to share this post with you because having made the ice cream we chose to save it for Christmas day, which is always a big family affair in our household and meant everyone would get a taste.

Way back on a warm Summer's day a crate of over ripe peaches landed in the kitchen; between the family we managed to scoff a good few of them but the left overs gave me a chance to experiment. My usual source of inspiration is the internet but peach cakes and peach cobblers and peach pies just weren't grabbing my attention, then I came across the most beautiful food blog Tartelette and a stunning recipe for Roasted Peaches and Lavender Ice Cream.

Queue some rejigging of the recipe - skip the lavender, make it a little less calorie heavy, oh and minor detail, I don't own an ice cream machine and hey presto I found myself spending a whole afternoon (no exaggeration this takes 4-6 hours) making Roasted Peach and English Blossom Honey Ice Cream.


If you click the Tartelette link it will take you back to the original recipe but I have included my own version below:

6 peaches
250ml whole milk
250ml light coconut milk
250ml fat free yoghurt
5 tablespoons of honey
A handful of sugar

Preheat the oven to 200C

Cut the peaches in half and remove the stone.


Cover a small plate with sugar and push the flesh into the crystals. Place in a roasting tin sugar side up.


Drizzle the honey over and roast in the oven until golden brown and soft (I turned my peaches a few times just to keep them coated in the honey and juice syrup that was forming in the bottom of the tin)


Call me fussy but once the peaches were sufficiently cooled I removed the skin; there's no real need for this it just depends on your preference for the texture of the ice cream and I wanted mine to be smooth and creamy.


In a large saucepan over a medium heat, gently warm the milk, coconut milk and yoghurt until they are just at the point of boiling. Remove from the heat and leave to cool completely. I would recommend refrigerating to speed this part up!


Once everything is completely cooled add the peaches to the milk base and mash with a potato masher.

This is the point where if you're lucky enough to have an ice cream machine you pop it in and let it do the hard work. Now the true commitment to the cause begins.

I separated my mixture into two large plastic containers, both need to fit easily into your freezer. Place in the freezer for 45 minutes, remove and whisk (definitely with an electric whisk and the most robust fitting you have, it's easy now but anything flimsy will not work at the later stages)

From now on every 30 minutes you have to remove your ice cream from the freezer and whisk, for the simple reason that you are not trying to produce an ice cube but rather a smooth and well blended mixture. How many times you will have to do this depends on how good your freezer is but you will get to a certain point where the mixture no longer looks whisk-able and it is at this point that you can either leave it to freeze or eat it!

If like us you choose to save yours until later you will need to remove the ice cream from the freezer and pop it into the fridge for several hours to soften up.

Bon apetit!

VERY CHERRY

Last week a massive crate of cherries came our way courtesy of a local farmer. Never one to waste food, let alone free food, we set to work planning how best to use the fruit. "Mmmm cherry crumble or my favourite cherry pie" the family cried out, but as designated chef I don't like cooked fruit, so to cook or not to cook? That was the question...

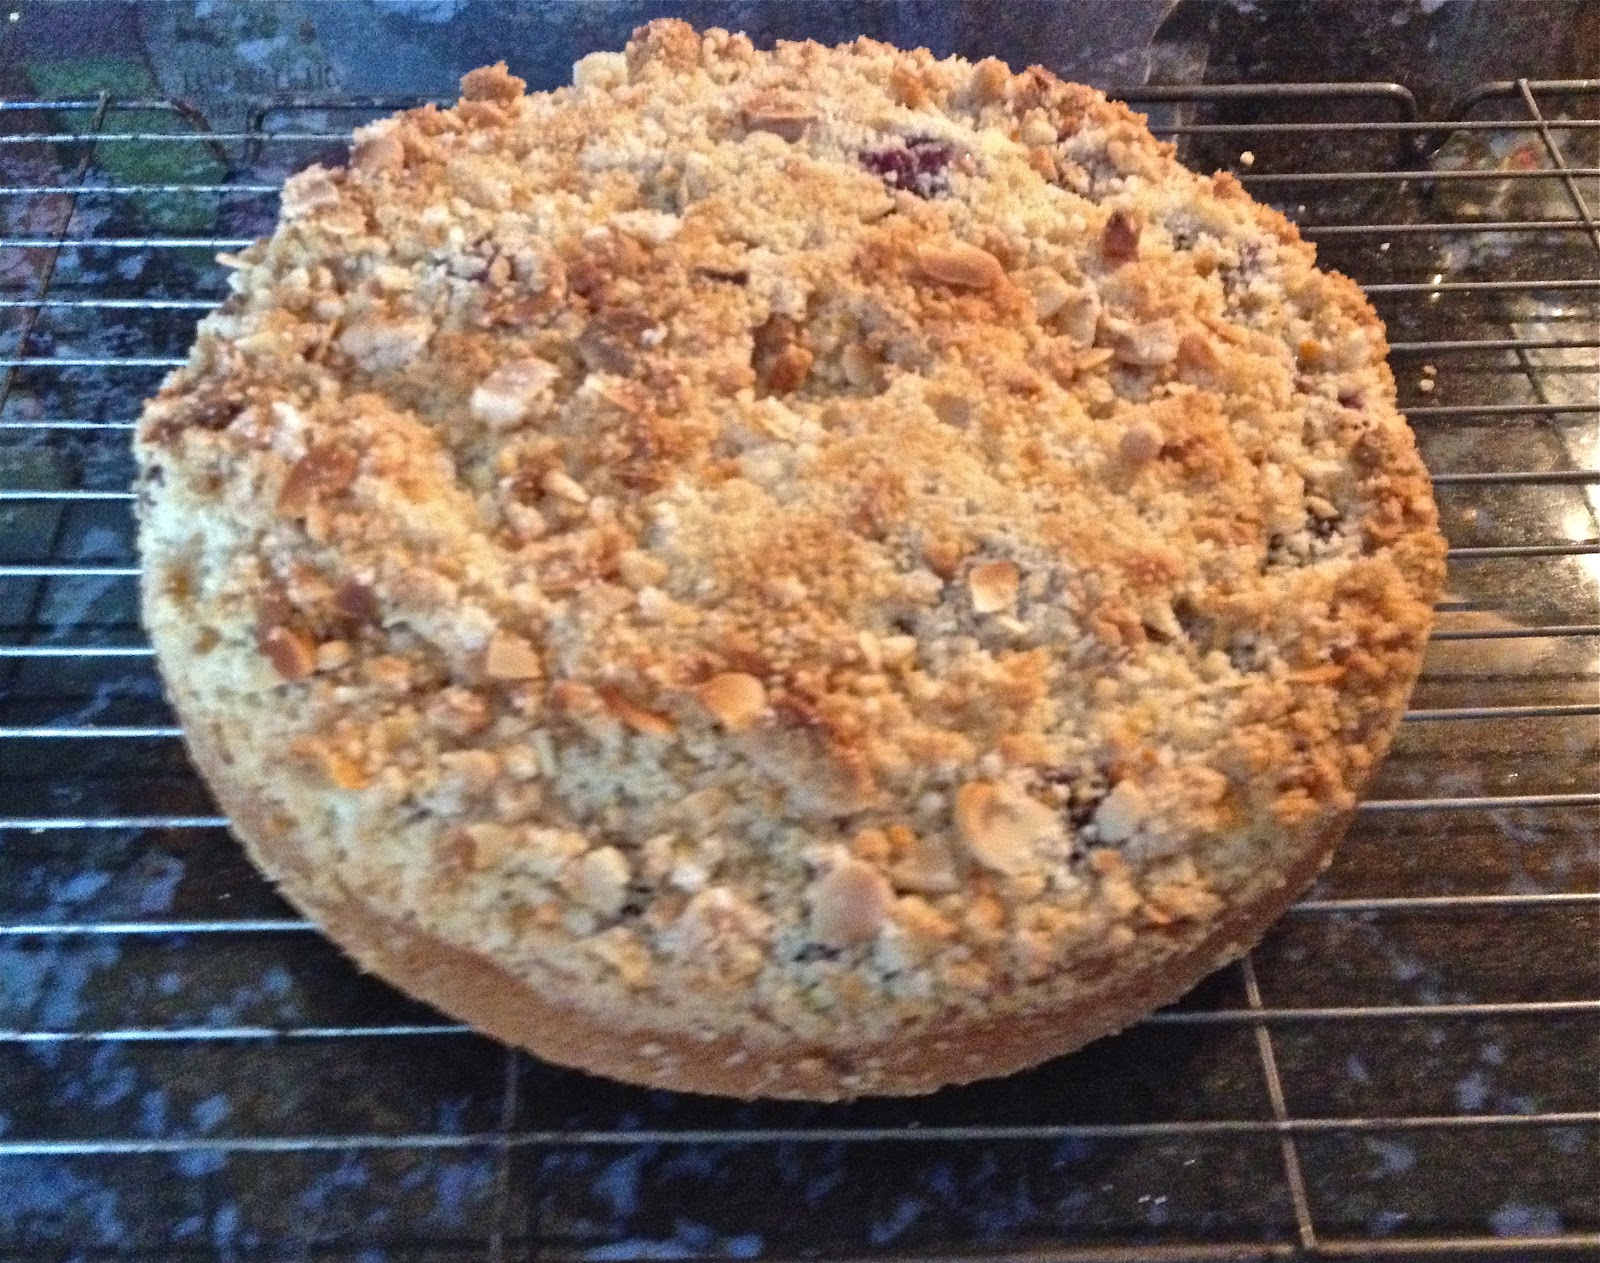
Oh the joys of the internet, a quick flick through the blogging world and I came across a lovely recipe for Cherry Crumble Cake by The English Kitchen. A few tweaks to the recipe later (I seriously dislike cinnamon!) and I had whipped up a new favourite cake for the family; so good that we thought we should share.

I have included my version of the recipe below, the only slight changes I have made are to the quantity of cherries (the original 350g wasn't enough even in my smaller tin)

For the cake:
400-450g of pitted fresh cherries
150g self raising flour
50g sugar
1 large free range egg
30ml milk
100g melted butter

For the crumble:
30g plain flour
30g sugar
30g butter (room temperature)
Handful of almond flakes

Preheat oven to 180°C/ 350°F/ gas mark 4. Butter an 8 inch cake tin with removable bottom and line with baking parchment.


Gently melt butter, take off heat and whisk in the milk and egg. In a separate bowl sift the flour and sugar, make a well in the centre and pour in the milk/butter/egg mixture. 


Whisk all the ingredients together to form a smooth thick batter. Pour into your prepared cake tin.


Feeling all fancy I went for an organised pattern for my cherries but as you can see the 350g just didn't go far enough for me (and my tin is smaller than 8 inches). Next time I would cram as many in as I can which is why I have suggested using 400-450grams of cherries. Always better to have too many then you can eat the left overs!


In another bowl sift your flour and sugar for your crumble topping, add the butter and using your fingers rub the mixture together until you have a crumbly breadcrumb consistency. I added flaked almonds to my topping to add extra crunch, I judged the amount by the look and feel of my crumble topping - more almonds = more crunch!
When the topping has a fine breadcrumb look sprinkle over your cake and pop it in the oven. Bake for 30 -35 minutes until risen and golden brown on top. If your unsure insert a toothpick in the centre of your cake and if cooked it will come out clean. 


Leave to stand for at least 10 minutes before turning out onto a wire rack to completely cool. Now reader I have to share with you my mistake, I didn't have a removable bottom cake tin to hand so I opted for a normal cake tin; BIG mistake. I had to flip my cake out losing lots of valuable crumbly topping. Lesson learned - I shall invest in a new cake tin.


Slice and enjoy!